Related service therapists should place all events on their students' Planners. This includes therapy sessions and evaluation sessions. Best practice includes sending a webmail with a session link (for virtual sessions) for initial sessions or sessions that are being held at an alternate date/time than what is typical for the student's therapy schedule.
Follow the steps below to update an individual student's planner.
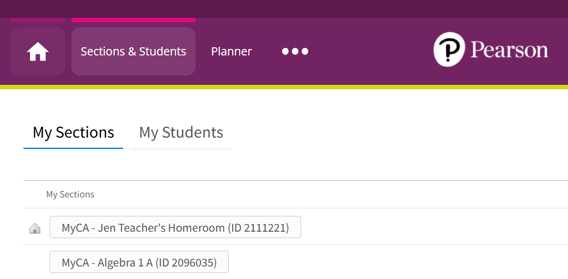
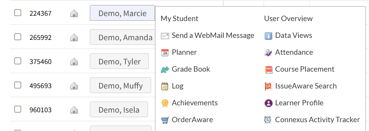
- Select the appropriate section on your Sections and Students tab
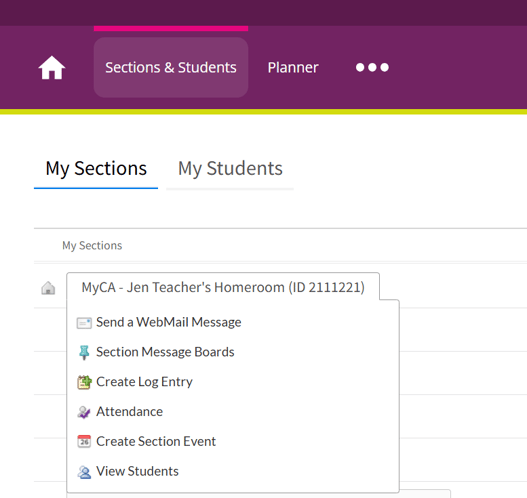
2. Select View Students from the drop-down menu
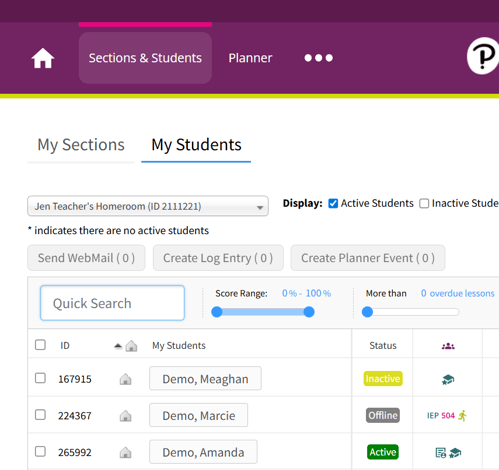
3. Select the name of the individual student
4. Select Planner from the drop-down menu
5. Select the Plus sign to create a new event (or from the day view select the appropriate time slot)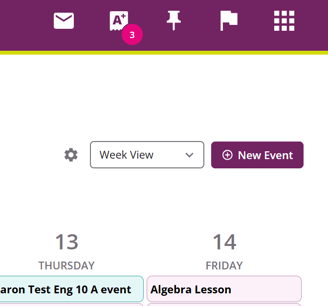
6. Fill in details needed and select create event
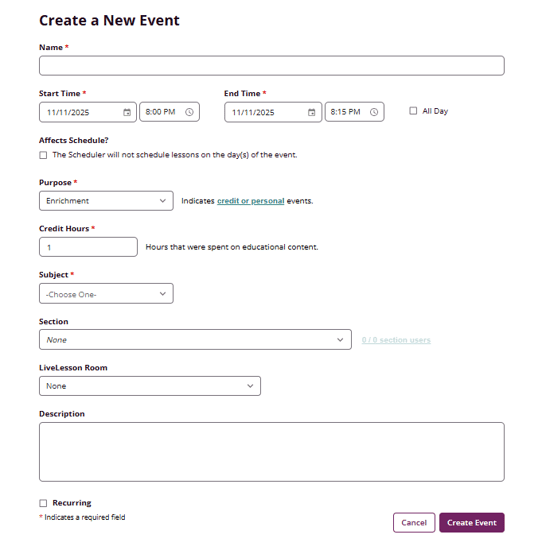
In the description, you can add a link for the student to access. You can also check the box to make the action recurring. Do not select “affects schedule.'' This will result in no lessons being scheduled on this day. Remember to save any action you add. The following fields should be completed in the planner:
- Name: Indicate the service provided
- Choose the Start and End Date/Time
- Purpose: Automatically shows as "Personal (non-credit)"
- Description: Include a link to the session (for virtual events)
If the session requires the student to sign onto LiveLesson or another virtual therapy platform, it is recommended that a link to the platform is included in the description of the event. If this is a new service that has been added, it is helpful to review the planner to see the typical days and times when the student has other LiveLesson sessions or therapy sessions to avoid double booking the student.
Selecting “all day” event will cause the event to show on the top of the student’s planner.
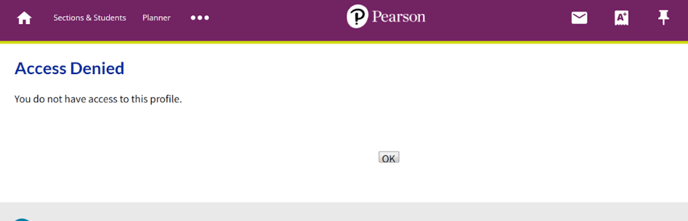
Please be sure to access your students using the Students page. Contractors are not able to access Student Overview (User Overview) and will receive an access denied message if attempting to do so (please see screenshot below for an example).